
How to Restore the Shine on Your Classic Motorcycle
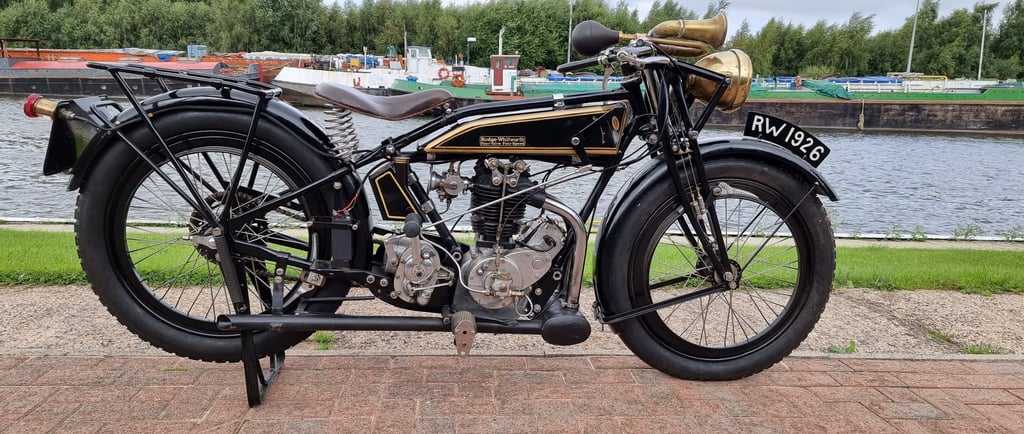
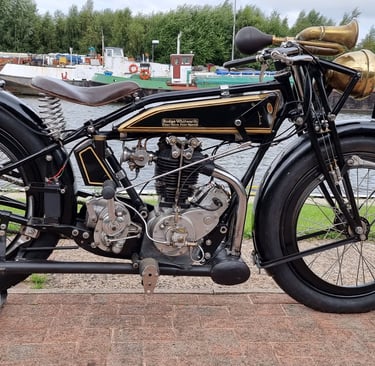
Owning a classic motorcycle is a testament to a timeless love affair with the open road. However, over time, the wear and tear of both the miles travelled and the years passed can take a toll on the bike's aesthetic appeal. If your classic motorcycle has lost some of its former glory, fear not – restoring its shine can be a satisfying and relatively quick process. In this guide, we'll take you through the steps to rejuvenate your classic ride and have it gleaming like it just rolled off the showroom floor.
Step 1: Assess the Damage
Before diving into the restoration process, carefully inspect your motorcycle. Identify areas with rust, scratches, dullness, or other imperfections. Take note of any specific parts that require attention, such as the fuel tank, fenders, or chrome accents.
Step 2: Cleaning and Degreasing
Start by giving your classic motorcycle a thorough cleaning. Use a mild detergent and a soft sponge to remove dirt, grime, and grease. Pay special attention to hard-to-reach areas and delicate components. For tougher grease and oil stains, consider using a specialized degreaser.
Step 3: Surface Preparation
Once your motorcycle is clean, it's time to prepare the surfaces for restoration. Sanding is crucial for removing rust, old paint, and imperfections. Use fine-grit sandpaper and work in a well-ventilated area. This step ensures a smooth surface for the next stages of restoration.
Step 4: Rust Removal
If your classic motorcycle has developed rust, it's essential to address it promptly. Use a rust converter or a rust remover to eliminate corrosion. Afterwards, apply a primer to prevent future rusting. For visible rusted parts, consider using a polishing compound to restore the metal's shine.
Step 5: Paint Touch-Up
For motorcycles with paint damage or fading, a fresh coat of paint can make a world of difference. Choose high-quality, colour-matched paint for your motorcycle. Before applying the paint, ensure the surface is smooth and free of imperfections. Consider using a clear coat for added protection and shine.
Step 6: Chrome Polishing
Chrome components contribute significantly to the overall aesthetic of classic motorcycles. Use a chrome polish or a specialized metal cleaner to restore the shine on your motorcycle's chrome parts. Be gentle to avoid scratching, and use a soft cloth for optimal results.
Step 7: Leather Care
If your classic motorcycle features leather components such as seats, saddlebags, or grips, it's crucial to keep them in good condition. Use a leather cleaner and conditioner to moisturize and protect the leather. Regular care will not only enhance the appearance but also prolong the life of these components.
Step 8: Final Touches
Once you've completed the major restoration steps, take some time for the finishing touches. Check all the nuts and bolts to ensure everything is secure. Consider adding subtle customizations or accessories to personalize your classic motorcycle.
Reviving the shine on your classic motorcycle is a rewarding process that requires time, patience, and attention to detail. By following this guide, you can bring back the glory of your vintage ride and enjoy the admiration of fellow enthusiasts on the open road.
Jacob@rudge.com